


Whether your headlights aren’t working, it doesn’t matter if you have the costliest wheels. Headlight assembly is, fortunately, a relatively straightforward task. Experts at SuncentAuto have explained it for you.
Table of Contents
Step 1:
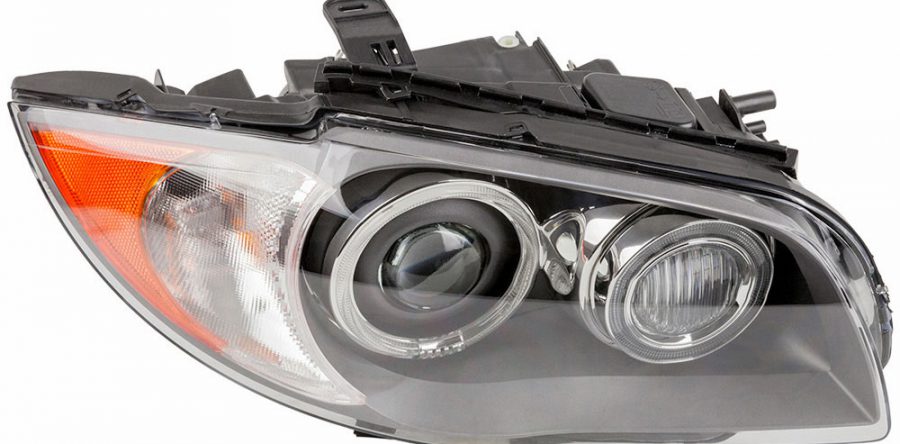
You’ll access your headlight bulb through the engine area. First, locate the headlight towards the front of the vehicle by opening the hood. It will be housed in a bulb holder and connected to the bulb through a power connector.
Step 2:
Depending on your vehicle, the power cables are connected to a plug at the base of the headlamp and kept in place by a plastic catch, a metal clip, or a screw cap. Push down on the little lever at the top of the plastic net while pulling the plug out.
If you’re dealing with a metal clip, pull it up and away while keeping a firm grip. If you’re dealing with a screw cap, turn it counter-clockwise to remove it.
Step 3:
You should be able to unscrew the back of the headlight holder and remove the old bulb by holding onto the base once the wires have been disconnected. However, you may need to spin the bulb a little to get it loose in some circumstances.
Step 4:
Use tissues or gloves to handle the replacement bulb; you don’t want your skin’s oils to get on it. Before installing it, you should clean it thoroughly with an alcohol wipe.
Please insert it into the plug’s base when the bulb is ready. None of the bulb’s rubber gasket will be visible if placed correctly.
After the bulb is installed, replace the headlight holder and reconnect the power lines. Finally, make sure you turn on your headlights to test the bulb.
Additional Tips:
Changing rear tail lights (including brake lights) differs slightly from replacing headlights. On some versions, the bulb housing is unscrewed from the outside, while on others, you must unscrew it from the trunk’s interior.
After unscrewing the housing, you also have to deal with tabs, screws, or small knobs to open the tail light, cover, and access the bulb. The electrical wiring will not need to be removed but be careful not to rip the wires by pulling the shell too far out.
You should be able to either take the bulb straight out (like in most modern autos) or push it in and unscrew it simultaneously to unscrew it.
When the replacement bulb has been inserted, replace the housing and reattach it. Then, make sure you test the bulb once more by starting the car and applying the brakes.


